
Some Would Call It Beginner’s Luck, but Ideal Shield® Jacketing Is Always Easy to Install
Contractors know that weather is insulation’s archenemy. For years, the industry has had expensive, labor intensive and messy options to guard against mother nature, but nothing on the market today is as durable, dependable, and easy to install as Ideal Shield Jacketing from Ideal Tape.
We’re going to take you through the step-by-step process to show you how easy it is to apply our Ideal Shield Jacketing.
Jacketing or cladding systems can be used on new construction or retrofit jobs and are easily installed by one person. It would take 18 buckets of mastic and many more trips up and down the stairs to yield the coverage from this one roll of tape. Ideal Shield Jacketing can be installed in a variety of weather conditions and requires no cure time. The benefits include reduced labor, reduced material costs, and minimal waste.
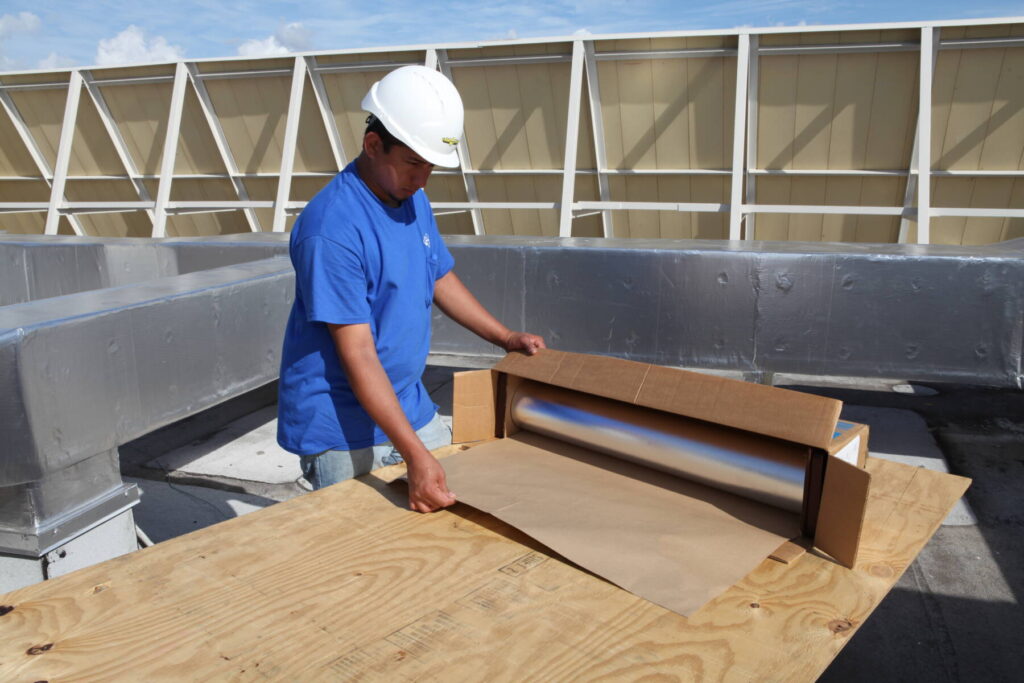
All you need to get started is to set up a 4’ x 8’ sheet of plywood on two sawhorses. Make sure that the insulation has been installed per the manufacturer’s requirements, and that all the insulated surfaces are clean and dry. Open the carton according to the instructions printed on the outside of the box and remove the tool kit.
Use the provided clamps to secure the carton to the plywood. The carton now serves as a dispenser for the material. Starting with the bottom of the duct work, measure across and add approximately 6” to the total width to yield a 3” lap on each side.

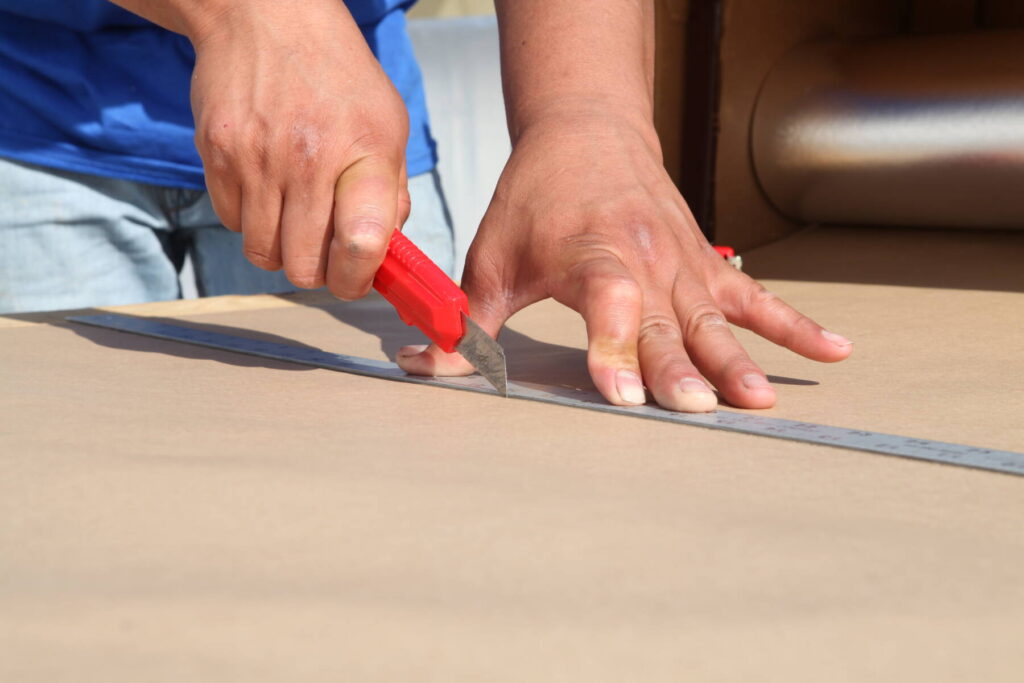
Cut the Ideal Shield Jacketing with the knife provided. Peel back the brown paper liner about 4” and center the tape across the ductwork with an even lap on each side. Ideal Shield Jacketing is repositionable at this point. Smooth out the foil tape with the supplied squeegee and peel the liner back as you go.
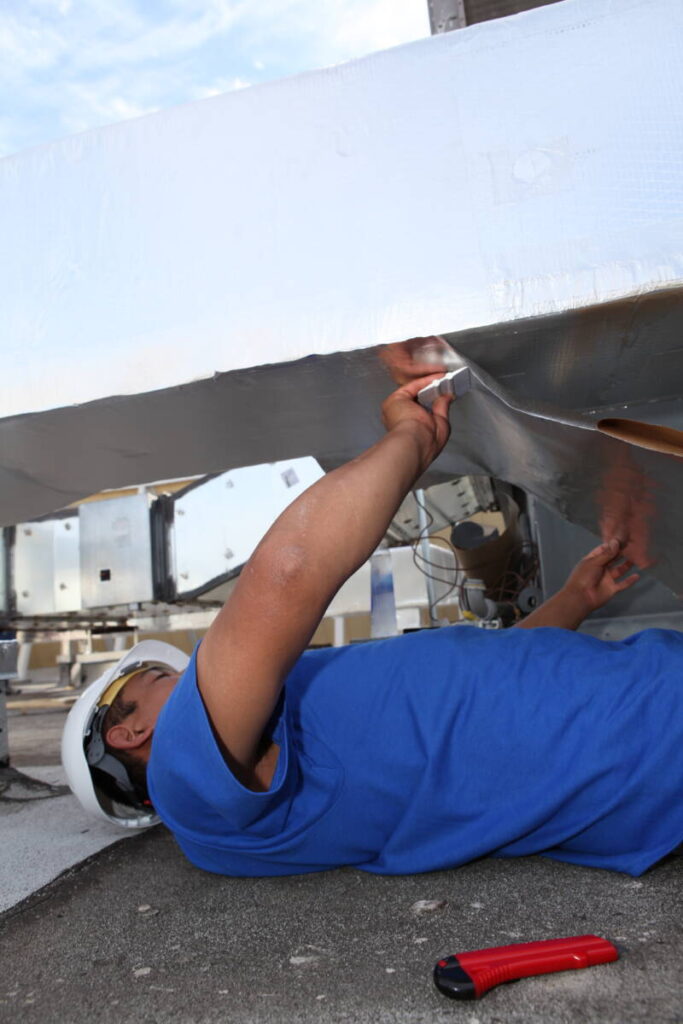
Complete the bottom of the duct work first, overlapping each piece 3”. Measure the side panels adding 3” for one lap on the bottom. Apply the same way, lapping under the duct.
Finish with the top and use the same measurements as on the bottom adding 6” for two 3” laps on the sides. This provides a proper rain-shed and ensures the integrity of the system. The flexibility of Ideal Shield Jacketing makes it easy to wrap inline reducers, curb stops, and legs.
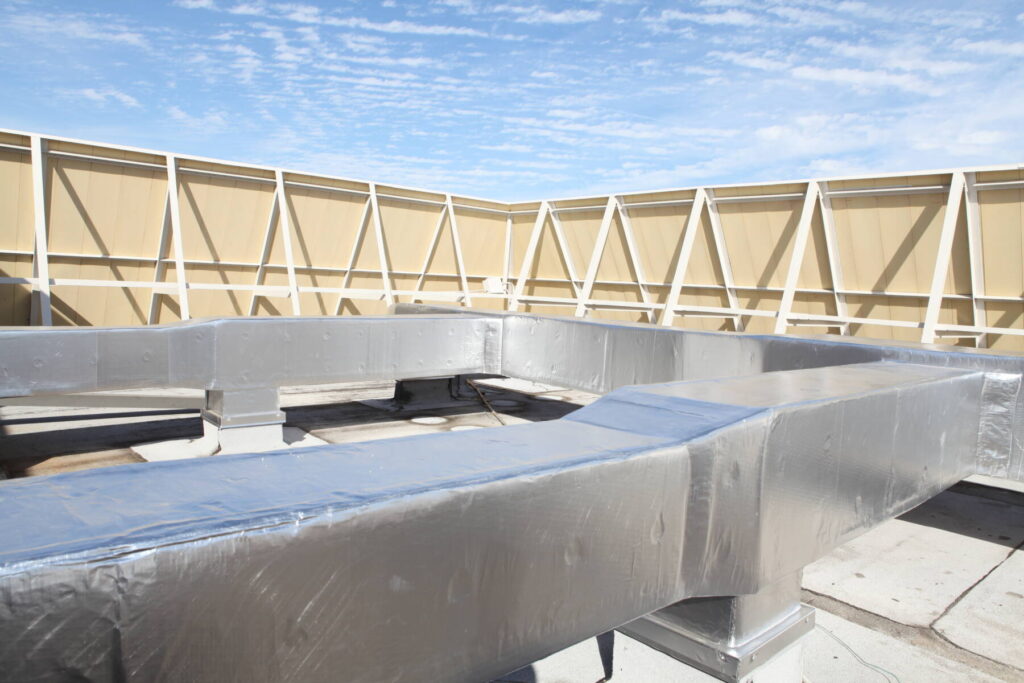
There you have it! Ideal Shield Jacketing is manufactured to the highest standards. Its technical toughness and UV stability maximize the insulation’s effectiveness, providing a zero-perm vapor barrier over insulated duct work and piping in outdoor applications. Its embossed white, gloss white, embossed aluminum, and flat aluminum finishes provide a clean and professional appearance.
Most importantly, the Ideal Shield Jacketing system’s ease of use and economical investment assure you significant cost savings in time and labor. We’re so confident in Ideal Shield’s performance that it comes with a 10-year warranty, guaranteeing your hard work will stand the test of time.
There’s nothing like seeing our products in the hands of talented contractors. We would love to see the finished result of your work after an Ideal Shield installation. Show off your skills and tag us on Instagram: @idealtapeco.